> ## Documentation Index
> Fetch the complete documentation index at: https://shapesinc-4644c49f-cursor-docs-product-refresh-1067.mintlify.site/llms.txt
> Use this file to discover all available pages before exploring further.
# Make Your First Shape
> Chapter 1 of the Make Shapes guide: create your own AI character in a few minutes. Give it a name and a one-line backstory, pick a model, and it's ready to talk.
*Chapter 1 of the [Make Shapes](/make-shapes) guide.*
Making your own AI takes a few minutes. You give it a name and a one-line backstory, pick a model to run it on, and it's ready to talk. This chapter gets you to a living Shape. The next four chapters make it great.
Every setting you'll meet here is covered in full in the [Shape Settings Reference](/shape-settings) when you want the detail.
```mermaid theme={null}
flowchart LR
A[Sign in] --> B[Create Shape]
B --> C[Name + short backstory]
C --> D[Pick a response style]
D --> E[Add a profile: avatar, tagline, tags]
E --> F((Your Shape is live))
```
## Create it
Go to [shapes.inc](https://shapes.inc) and sign in.

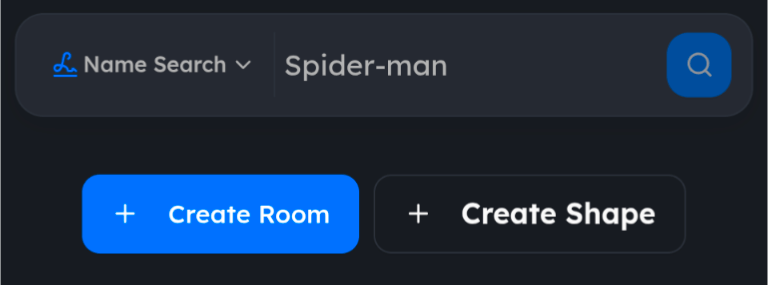 This is all you truly need to get going:
* **Name.** The display name in chat. It also seeds the username.
* **Short backstory.** One or two sentences with a clear point of view. This is the most important thing you'll write, so make it specific. "A burned-out night-shift diner cook who gives blunt advice between orders" beats "a friendly helpful assistant."
* **Response style.** Pick how it writes, or write your own. You can use the `{shape}` and `{user}` [variables](/variables) here.
This is all you truly need to get going:
* **Name.** The display name in chat. It also seeds the username.
* **Short backstory.** One or two sentences with a clear point of view. This is the most important thing you'll write, so make it specific. "A burned-out night-shift diner cook who gives blunt advice between orders" beats "a friendly helpful assistant."
* **Response style.** Pick how it writes, or write your own. You can use the `{shape}` and `{user}` [variables](/variables) here.
 An avatar, banner, tagline, category, and tags help people discover your Shape. You can also add a custom look with [HTML & CSS](/css).
Hit **Create** and your Shape is live. Start talking to it right away.
## What's next
You have a Shape that talks. Right now it's leaning on its default personality. The next chapter is where it becomes a character with a voice of its own.
Voice, backstory, quirks, and boundaries that make it feel like someone.
In a hurry? You can also [copy a complete config](/showcase) and tweak it, or browse [every setting](/shape-settings).
[Create a Shape](https://shapes.inc)
An avatar, banner, tagline, category, and tags help people discover your Shape. You can also add a custom look with [HTML & CSS](/css).
Hit **Create** and your Shape is live. Start talking to it right away.
## What's next
You have a Shape that talks. Right now it's leaning on its default personality. The next chapter is where it becomes a character with a voice of its own.
Voice, backstory, quirks, and boundaries that make it feel like someone.
In a hurry? You can also [copy a complete config](/showcase) and tweak it, or browse [every setting](/shape-settings).
[Create a Shape](https://shapes.inc)